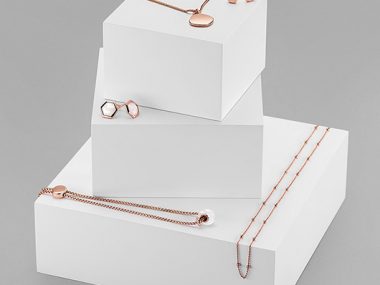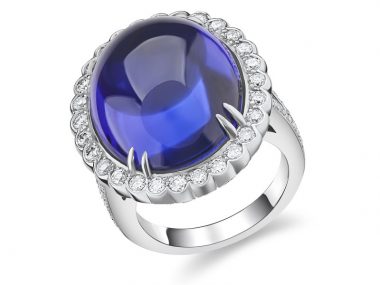
To put it simply, Jewellery photography is difficult. Reflective surfaces and intricate engravings can prove challenging to capture on camera. This blog entry will attempt to shed some light on valuable techniques to help your photoshoots run a lot more smoothly and help solve some of the frustrations with jewellery photography.
As a jeweller, you know better than anyone how each piece of jewellery can have its unique personality. That also means that it can come with its own unique challenges when photographing them for advertising.
There is a multitude of different issues you may encounter. Perhaps the most common as it affects most pieces is size. Jewellery can often be extremely small, especially in the case of stud earrings which can make it near impossible to position consistently. Lighting can bring a myriad of problems, including reflections and gradients that can be a pain to adjust and remove, especially on unique stones like opal or opaque stones like emerald, which can appear dull and washed out without the correct lighting.
BACKDROPS AND SETTING THE SCENE
The backdrop of a jewellery shoot can play a huge role. You must work around emphasising the product. The environment should be minimal and the second thing your customer notices not the first. Think about what colours can complement the piece, and don’t be afraid to experiment with colour and textures.
Debris is your worst enemy when shooting such intricate pieces. The camera will pick up microscopic pieces of dust when shooting, or even fingerprints! Cleaning whilst shooting can half editing time. You’ll want to keep microfibre/jewellery polishing cloths to clean off your jewellery.
JEWELLERY PHOTOGRAPHY SETUP
Lighting is very subjective to the environment. It will take a lot of time to readjust and experiment with. To save time, you may want to shoot everything in bulk or keep your set-up in place. Take the time to experiment until you get it perfect.
Rings are often one of the most tricky pieces to photograph because of their unique shape and getting the positioning just right. You may need up to five lights around the ring due to its curves and angles and how the light may hit it.
Never rely on natural lighting for pack shots. The sun moves throughout the day. Pieces shot within the same hour may appear different due to clouds and movement. Artificial lighting is always consistent and will make it so much easier to get excellent results.
SHOOTING JEWELLERY

One of the following steps is adjusting camera settings. You’ll want to start with figuring out the depth of field. You’ll need to keep in mind that you will need a smaller aperture to increase your depth of field. However, a bigger aperture can result in blurred, out of focus areas. You can avoid this by focus stacking. Focus stacking is the process of layering images with different focus points to create a very detailed final image. There are many programmes out there you can utilise to create this effect.
If you are focus stacking, be sure to keep your camera steady with a tripod and try to keep the entire set-up as still as possible whilst shooting. Any movement can throw off the whole stack. Also, be sure to keep your lighting consistent by allowing the lights to cycle in between shots.
EDITING JEWELLERY PHOTOGRAPHY
Editing can be done using professional programmes like photoshop to gain the best results. You can manipulate anything from brightness to colour and also remove any debris that can’t be removed during shooting. YouTube can be beneficial with tutorials on how to utilise photoshop tools best.
We hope this article has provided some insight into jewellery photography and some things to consider.
Read more of our blogs here.


