If you’re a business selling products, it would help if you got a professional photographer to shoot your products in a perfect world. However, if your budget is tight but familiar with the camera, you can use these product photography advice to make the best of your photographs.
This blog will discuss product photography tips to help you achieve better results.
There are no rules for good product photography, there are only good Product photographs.
MO STUDIOS

Harsh shadows VS soft shadows
Ambient light works quite well for any photo and very often is underestimated. Usually, shooting in the early afternoon will work best.
The most common reason that makes light harsh or soft is how smooth the shadows are. The angle of light creates shadows. For soft light, the angle is vast; for hard light, it is narrow. A narrower angle takes a longer distance for a shadow cast by hard light to become soft. If you used softer light, the shadows would be softer to be less visible.
If you want your product photography to aim for soft shadows, go for big windows or the outdoors. To avoid a harsh shadow, don’t shoot in the direct sunlight. Instead, try shooting on an overcast day with softer light.
Product photography Advice on Using White backgrounds

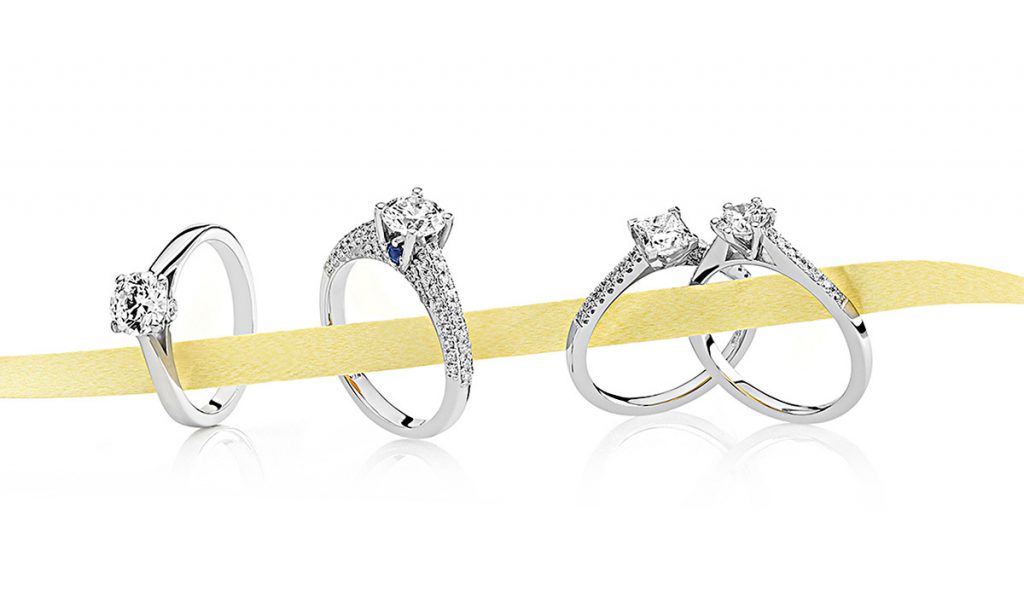
In product photography, using a white background will look best for thumbnails and starting images for your products because it creates focus on the object itself. To create a perfectly white background, put a roll of white paper and bend it to create a curve. Also, don’t forget your white reflector card if you use a window light technique. The white reflector card bounces light back onto your subject and fills in all the shadows.
While shooting, the slightest movement can cause a camera shake, so a tripod is worth buying. However, you don’t need to spend a fortune on a tripod either. After a quick search on Amazon, you can find a tripod for less than £20, perfect on a budget.
Alternatively, you can purchase a lens that includes VR (Vibration Reduction) or IS (Image Stabilization) instead.
If you sell, for instance, clothing in various colours, show your customers all the options that they can choose for the hat. A group of photos showcasing your clothing range in all colours which will make your product look more attractive and improve your sales performance.
Use more than just the camera to double-check images.
Don’t rely solely on the image the camera’s screen shows to see if a photo is of your desired quality. Instead, wait until you download your photography product images to your computer. Images can look very different on a bigger monitor therefore you can see areas that need adjusting better.

Modern Cameras will most likely have an optical zoom, and a digital zoom included. However, using digital zoom will lower the image quality, so avoid using digital zoom.
Your camera might have a “close-up” option, which appears as a tulip-like icon on most cameras. Often, close-up photos are taken for when you shoot small products such as jewellery or flowers. The result of a close-up photo is a narrower depth of field and a different perspective.
Finally, upload your pictures images to your computer, and then begin editing your photos. Cropping and colour correction can make a big difference in product photography.
Web uploads
Once you’ve retouched the image, it’s time to export the final images to upload to your website.
The important part is how you set the file settings and image sizing. Here is a good starting point:
- Image Format: Jpeg or WebP (website) for optimal compression and improved site speed
- Quality: Between 70 – 80, 100 is typically not necessary.
- Colourspace: RGB
- Resize to fit: Width and Height – match your crop size
- Resolution: 72 DPI (this is a standard screen res)
We hope these tips have helped take your product photography to the next level. Read more of our professional product photography advice in our blogs here.
Looking to branch out into videography? Read more here.


3 comments